Car headlights are a basic element for driving, both at night and on very cloudy days, because they serve to illuminate the road ahead so that other vehicles approaching you can see you, something in which it is not always repaired.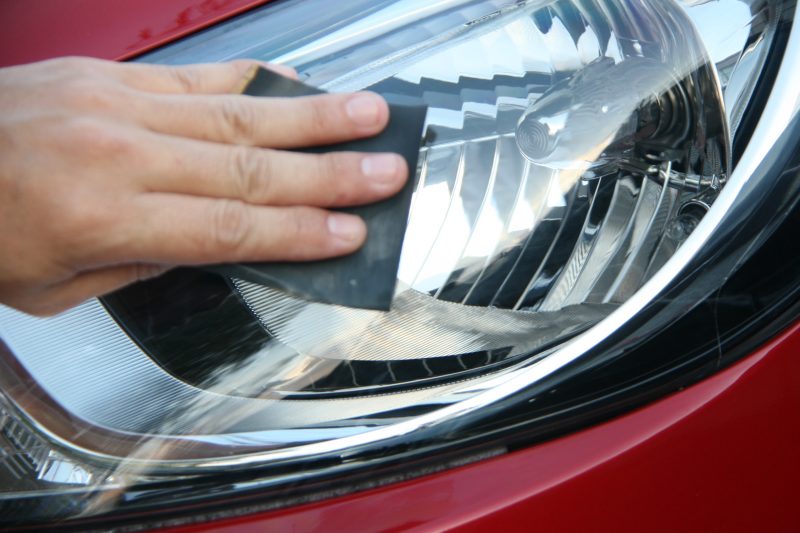
But exposure to the sun, extreme hot and cold temperatures, rain -which can carry elements of chemical contamination-, salt and snow melt products, dirt that becomes embedded in the inevitable scratches over time, produced by gravel or other fragments of the pavement, make the headlights dirty and dull, illuminating worse, which, in addition to being a reprimand when passing the ITV, above all reduces driving safety.
But this problem has a solution, and below we will explain how to polish the headlights of a car in an effective and not very complicated way.
What do you need to polish the headlights of a car?
- Soap and water, or all-purpose cleaner
- Masking tape
- Water sandpaper, 400, 1000 and 2000 grit
- A drill with 2-3 wool discs
- Silicone-based liquid polish
- Vinyl gloves
- A lint-free cotton cloth
Instructions to polish the headlights of a car
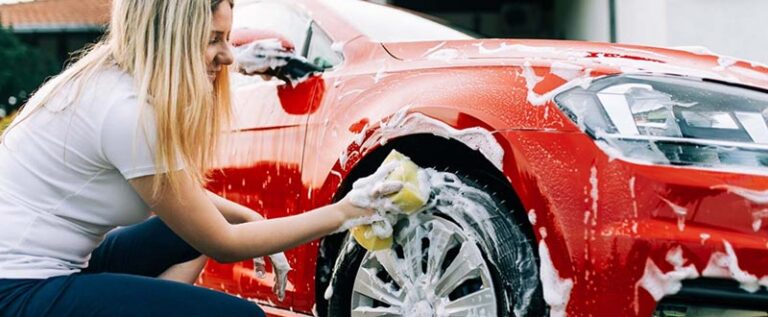
- Soap and water. First of all, you should wash the headlights with plenty of soap and water, or an all-purpose cleaner, although it should be colorless. This will remove all surface dirt, oils, chemicals and impurities that have adhered to the headlights over time. You can also use a cleaning kit that is sold at motor vehicle stores. So those remains will not scratch the headlight when you proceed to polish.
- Remove the headlights. If you know how to do it, you can disassemble each headlight as it will be easier for you to handle it, but it is not essential, because you can clean them without any disassembly.
- Masking tape. Next, it is very important that you cover all the surfaces around the headlights, especially the painted ones, with masking tape, which is a slightly adhesive paper, used as its name suggests to protect the bodywork in repairs, and by painters. You can increase the protection with plastic sheets for greater peace of mind during the polishing process. This is a very important step for the final finish to be perfect.
- sanded. After cleaning the headlight, you should sand it to remove both the encrusted roughness and the more opaque and sunburned parts. It is a smooth and constant sanding, without rushing. What the experts recommend is to first use a 400 grit water sandpaper for the first coat of sanding, and then give it another two, using 1000 grit sandpaper for the second and 2000 grit sandpaper for the third. The way to sand is that you must have a basin or similar of water -only water- nearby to continuously wet the sandpaper you are using, just as you must wet the lighthouse. For the latter you can help yourself with a sprayer. You should sand with circular and smooth movements. When you finish the three coats of sandpaper, go over it, looking for parts that are still rough, and apply the sandpaper there, until the entire surface is smooth.
- Water and drying. After sanding, you should clean the surface of the lighthouse with water only to remove the dust produced by the sandpaper. Then dry the headlight well. You will see that it has a translucent and homogeneous whitish appearance.
- Polished. Now is the time for you to put on some vinyl gloves and apply the liquid polish with a cotton rag, spreading the product in a circular motion all over the headlight. You will notice that as you rub the lighthouse with the polish, the lighthouse loses its whitish appearance and becomes transparent. It is recommended that you give each headlight two coats of polish to obtain a better result.
- Polished. Once the plastic surface of the headlight cover is completely polished and transparent, you must polish it with a completely clean woolen cloth, and without using the polish, rub firmly and also with circular movements each headlight until you remove the shine that you want. Both in polishing and in this buffing step, it may be useful to use a drill with cotton and wool discs.
- Remove the tape. Finally, remove the masking tape and protective plastic that you may have placed, carefully, and clean the area with a cloth if you think it is necessary.
- time. Keep in mind that polishing the headlights is an operation that requires patience, because you must do it by repeating the movements many times, both sanding and polishing and polishing. In total it can last between a quarter of an hour and 40 minutes per lighthouse, although it will depend on the ability of each person and the accumulated dirt.
Tips for polishing car headlights
- Instead of purchasing sandpaper, polish and textile discs or rags, you can purchase a complete specialized kit that is sold at dedicated motor parts stores.
- It is not recommended to carry out this sanding and polishing process more than twice in the life of the headlight cover, as if it is repeated more frequently it could cause cracks, which would cause the need to replace the headlight immediately.

