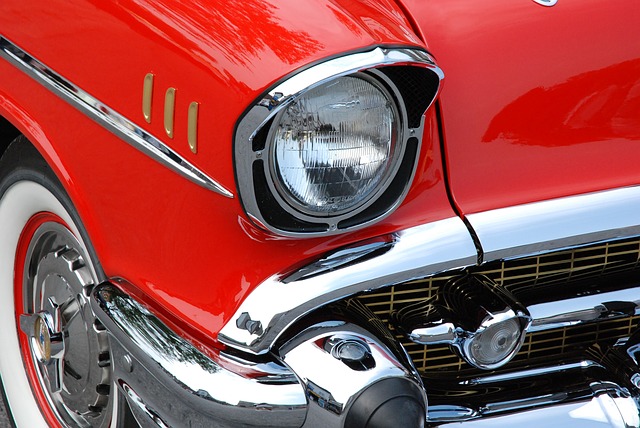
If you notice that your car headlights look duller, barely illuminate, and the lenses aren’t as clear as they used to be, examine them to see if they need cleaning.
Leaving car windows clean is not an easy task. Especially if you want them to look like they were on the first day. And buying a replacement for all the lights can cost you more than you think. Many times we spend money on having a professional solve this problem for us. But you can actually make your crystals look like new yourself. In this article we explain how.
Instructions for cleaning car lights
- The first thing to do when you are going to clean the lights of your car is to choose a good place to do it. The best place you can choose is one that is flat or flat. If you have a large garage or a patio where it would be great. Another point to take into account is that there is enough lighting so that we do not leave anything uncleaned. It is better that the light is natural.
- The next thing to do is give it a first coat of warm water mixed with soap to remove all the surface dirt that the crystals will have. To do this, take a sponge and dip it into the bucket where you have the mixture. Rub all the parts well so that no dirty area remains.
- When you have already cleaned all the crystals, take a dry cloth and remove all the traces of water that there is. Pass it all over until it is all without any remaining water.
- If your crystals are a bit old and damaged, you need to sand them down. To do this, use a fine wet or water sandpaper. The 3M is usually used, which on one side has a fine grain (1500 more or less) and on the other side a slightly coarser grain (2000 approximately). Protect the sides of the headlight with masking tape so that it does not damage the bodywork. Moisten the sandpaper and start rubbing with the coarse grit side until the glass is matte. Now, sand on the fine grain side until it is satin.
- Next, you have to polish the crystals. To do this, use a polisher. You can buy it at any hardware store or specialized car store. The amount you add will depend on the next step. If you have an electric polisher at home, use a small amount. If, on the other hand, you do not have a mechanical polisher, add more product to achieve a similar result. Pour the product directly on the lights and wait for it to dry.
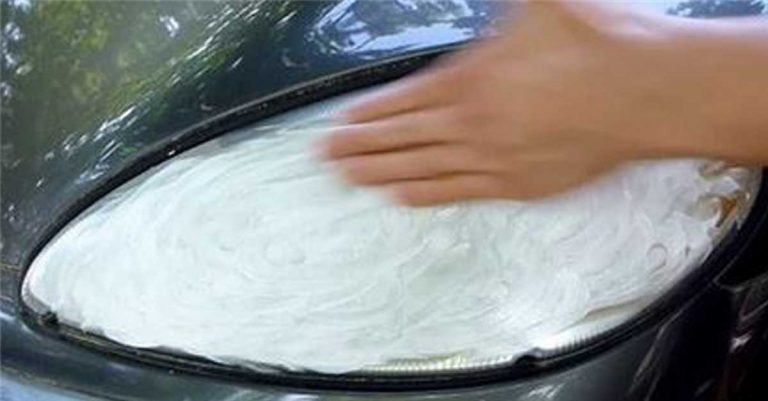
- In the event that you do not have a polisher or do not want to buy one, you can use a trick with which you will obtain similar results. To do this, take a bottle of toothpaste and pour some into your hand. Now spread it all over the crystals. Use as much as necessary. Then, with an old toothbrush that you have at home, thoroughly scrub each corner of the crystals for several minutes. If the brush turns black, it is a good sign, it means that this remedy is working and that the dirt is staying on the brush. To remove the toothpaste, pour warm or hot water on the crystals and remove the remains with kitchen paper.
- If you have a mechanical polisher, this is the time to use it. This is used to polish the glass and to do this use the softest clothes sandpaper you have. Glide it gently over your lights to leave them very bright, clean, and translucent.
- To finish, pass the cotton cloth again through all the crystals to remove any remains that may have remained after cleaning.
- Now test the lights and you can see how they look better and more powerful.

